How to Reset an iPad Before Returning, Selling or Handing It Off
· iOS & apps, iPad
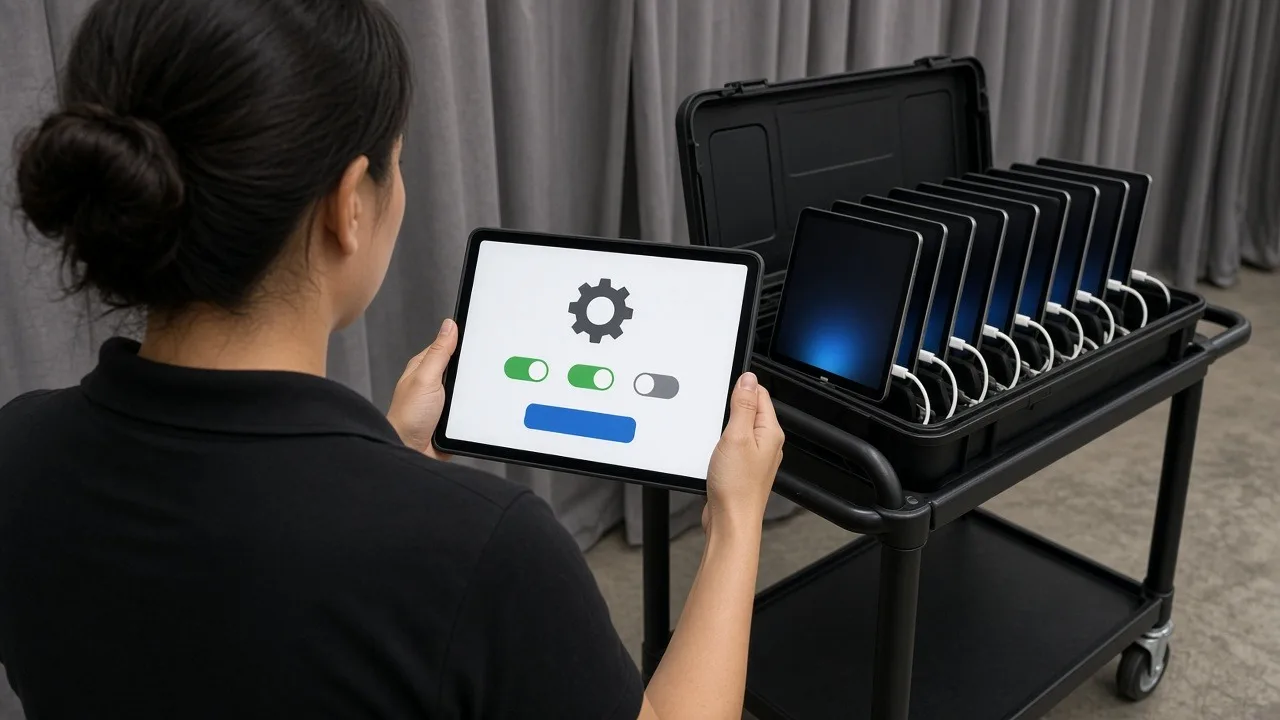
Whether you're returning an iPad to work, sending a rented iPad back, selling an old one or giving it to a family member, it's important to reset it properly. A correct reset protects your personal data. It also makes sure the next person can actually use the iPad, since an iPad still linked to your Apple Account can be locked to you.
Here's how to reset an iPad the right way.
Step 1: Back up what you want to keep
Before you erase anything, back up the data you want to keep. You can:
- Use iCloud Backup: Open Settings, tap your name, tap iCloud, then iCloud Backup, and tap Back Up Now.
- Back up to a Mac using Finder, or to a Windows PC using the Apple Devices app or iTunes.
If the iPad was used only for work or an event, check that any data you collected, like leads, survey responses or files, has been exported or synced to your system.
Step 2: Sign out of your Apple Account
This step is critical. Signing out of your Apple Account turns off Find My iPad and Activation Lock. If you skip it, the next user may not be able to set up the iPad.
- Open Settings.
- Tap your name at the top.
- Scroll down and tap Sign Out.
- Enter your Apple Account password if asked, and confirm.
If the iPad was signed in to other accounts, such as email, work apps or a device management profile, sign out of those as well. Work iPads may need your IT team to release them from device management.
Step 3: Unpair accessories
If you used Bluetooth accessories like a keyboard or Apple Pencil, unpair them. Go to Settings, then Bluetooth, tap the information button next to each device, and choose Forget This Device.
Step 4: Turn off Guided Access or other restrictions
If the iPad was used as a kiosk with Guided Access, make sure Guided Access is ended and turned off. Note any Screen Time passcodes you set, since you may be asked for them.
Step 5: Erase all content and settings
Now you're ready to erase:
- Open Settings.
- Tap General.
- Tap Transfer or Reset iPad.
- Tap Erase All Content and Settings.
- Follow the prompts, entering your passcode if asked.
The iPad will erase and restart to the setup screen. Don't continue setup if you're giving it to someone else. Leave it on the Hello screen.
Step 6: Check it worked
When the iPad restarts, you should see the setup screen. If you're asked for a previous owner's Apple Account, Activation Lock is still on. Sign in with that account to remove it, or sign in to iCloud.com and remove the device from your account under Find My.
Step 7: Clean the iPad
Before handing it off, gently clean the screen and case with a soft, slightly damp, lint-free cloth. Avoid spraying cleaner directly onto the iPad, and keep liquids away from openings. Follow Apple's cleaning guidance for your model.
For rented iPads
If you're returning a rented iPad, follow the rental company's return instructions. Some prefer that you leave iPads signed out and erased, while others manage devices remotely. Pack the iPad, charger and accessories in the original packaging and use the return label provided.
Quick checklist
- Back up your data.
- Export or sync any work or event data.
- Sign out of your Apple Account.
- Sign out of other accounts and management profiles.
- Unpair Bluetooth accessories.
- Turn off Guided Access.
- Erase all content and settings.
- Confirm you see the setup screen.
- Clean and pack the iPad.
If you forgot your passcode
If you can't remember the iPad's passcode, you can still erase it using recovery mode with a Mac or PC, or by using Find My on iCloud.com to erase the device remotely. Apple's support site has step-by-step instructions for each iPad model. You'll still need your Apple Account password to remove Activation Lock afterward.
Need iPads for your next event?
If you need iPads for a short-term project or event, RentOuriPads.com rents iPads that ship nationwide with prepaid return labels. Read more about the iPad, then request a quote to get started.